Plastic Injection Moulding Process: Complete Guide for Manufacturers
The plastic injection moulding process is the backbone of modern plastic manufacturing. From automotive components to consumer packaging, nearly every plastic part you use today started life as molten resin inside a precision mould. If you're a manufacturer, product designer, or procurement specialist, understanding this process helps you make smarter decisions on materials, tooling, and costs.
This guide breaks down every stage of the injection moulding cycle — clearly, without the jargon.
What is the Plastic Injection Moulding Process?
Plastic injection moulding is a high-volume manufacturing process in which molten thermoplastic is injected under pressure into a steel or aluminium mould. Once the plastic cools and solidifies, the mould opens and the finished part is ejected — ready for use or secondary processing.
It's ideal for producing large quantities of identical parts with tight tolerances, minimal waste, and low per-unit cost at scale.
• Cycle Time: 15 – 120 seconds per part
• Injection Pressure: 70 – 200 MPa
• Mould Temperature: 20°C – 120°C (varies by resin)
• Minimum Order Quantity: 500 – 1,000+ units for cost efficiency
• Tooling Life: 100,000 – 1,000,000+ shots
The 6 Stages of the Injection Moulding Cycle
The complete plastic injection moulding process follows six distinct stages. Each stage directly affects part quality, cycle time, and production cost.
1. Clamping
Before injection begins, the two halves of the mould are clamped together by the injection moulding machine. Clamping force — measured in tonnes — must exceed the injection pressure to prevent flash (plastic leaking at the parting line). A 250-tonne machine, for example, suits most medium-size consumer parts.
2. Injection
Plastic pellets (resin) are fed into the barrel, melted by heat and friction, then injected through a nozzle into the mould cavity at controlled speed and pressure. Shot size, injection speed, and melt temperature are critical variables at this stage.
3. Dwelling (Packing)
Once the cavity is filled, holding pressure is maintained briefly to compensate for shrinkage as the plastic cools. Poor packing pressure is a common cause of sink marks and dimensional inaccuracy.
4. Cooling
Cooling is typically the longest phase — often 50–75% of total cycle time. Cooling channels embedded in the mould regulate temperature and ensure even solidification. Uneven cooling causes warping and internal stress.
5. Mould Opening
Once the part has sufficiently cooled and solidified, the clamp opens and the mould halves separate. Draft angles (typically 1°–3°) on the part geometry allow clean release without surface damage.
6. Ejection
Ejector pins or plates push the finished part out of the mould cavity. The mould then closes again — ready for the next shot. The entire cycle restarts within seconds.
Common Materials Used in Plastic Injection Moulding
Material selection in the injection moulding process impacts everything from melt flow to end-use performance.
| Material | Key Property | Common Applications |
|---|---|---|
| PP | Flexible, chemical-resistant | Packaging, automotive, containers |
| ABS | Impact-resistant, rigid | Electronics housings, toys, enclosures |
| HDPE | Stiff, moisture-resistant | Pipes, caps, industrial parts |
| Nylon (PA66) | High strength, wear-resistant | Gears, bearings, structural parts |
| PC | Transparent, tough | Lenses, medical devices, safety gear |
| POM (Acetal) | Low friction, dimensional stability | Precision gears, fasteners |
Types of Plastic Injection Moulding
- Gas-Assisted Injection Moulding — Nitrogen gas hollows thick sections, reducing weight and sink marks.
- Insert Moulding — Metal inserts (threads, pins) are placed in the mould before injection.
- Overmoulding — Two materials moulded together; common for soft-grip handles.
- Micro Injection Moulding — For tiny precision parts in medical and electronics.
- Two-Shot (2K) Moulding — Two resins injected in sequence in a single cycle.
Common Injection Moulding Defects and How to Prevent Them
| Defect | Likely Cause | Prevention |
|---|---|---|
| Sink Marks | Insufficient packing pressure | Increase hold pressure / reduce wall thickness |
| Warping | Uneven cooling | Optimise cooling channel layout |
| Flash | Clamping force too low | Increase clamp force / inspect parting line |
| Short Shot | Insufficient melt or pressure | Increase injection speed / melt temperature |
| Weld Lines | Flow fronts meeting cold | Raise mould temp / optimise gate location |
| Burn Marks | Air trapped in cavity | Add vents / reduce injection speed |
Factors That Affect Injection Moulding Cost
- Tooling Cost: ₹50,000 for simple tools to ₹10 lakh+ for complex steel moulds.
- Part Complexity: More undercuts, thin walls = higher cost.
- Material Choice: Engineering resins cost more than commodity plastics.
- Cycle Time: Shorter cycles = lower per-unit cost.
- Order Volume: Higher volumes reduce unit price substantially.
Frequently Asked Questions
Conclusion
The plastic injection moulding process remains the most efficient way to manufacture high-volume, dimensionally consistent plastic parts. Mastering the six-stage cycle, choosing the right material, and designing for mouldability are the cornerstones of quality production.
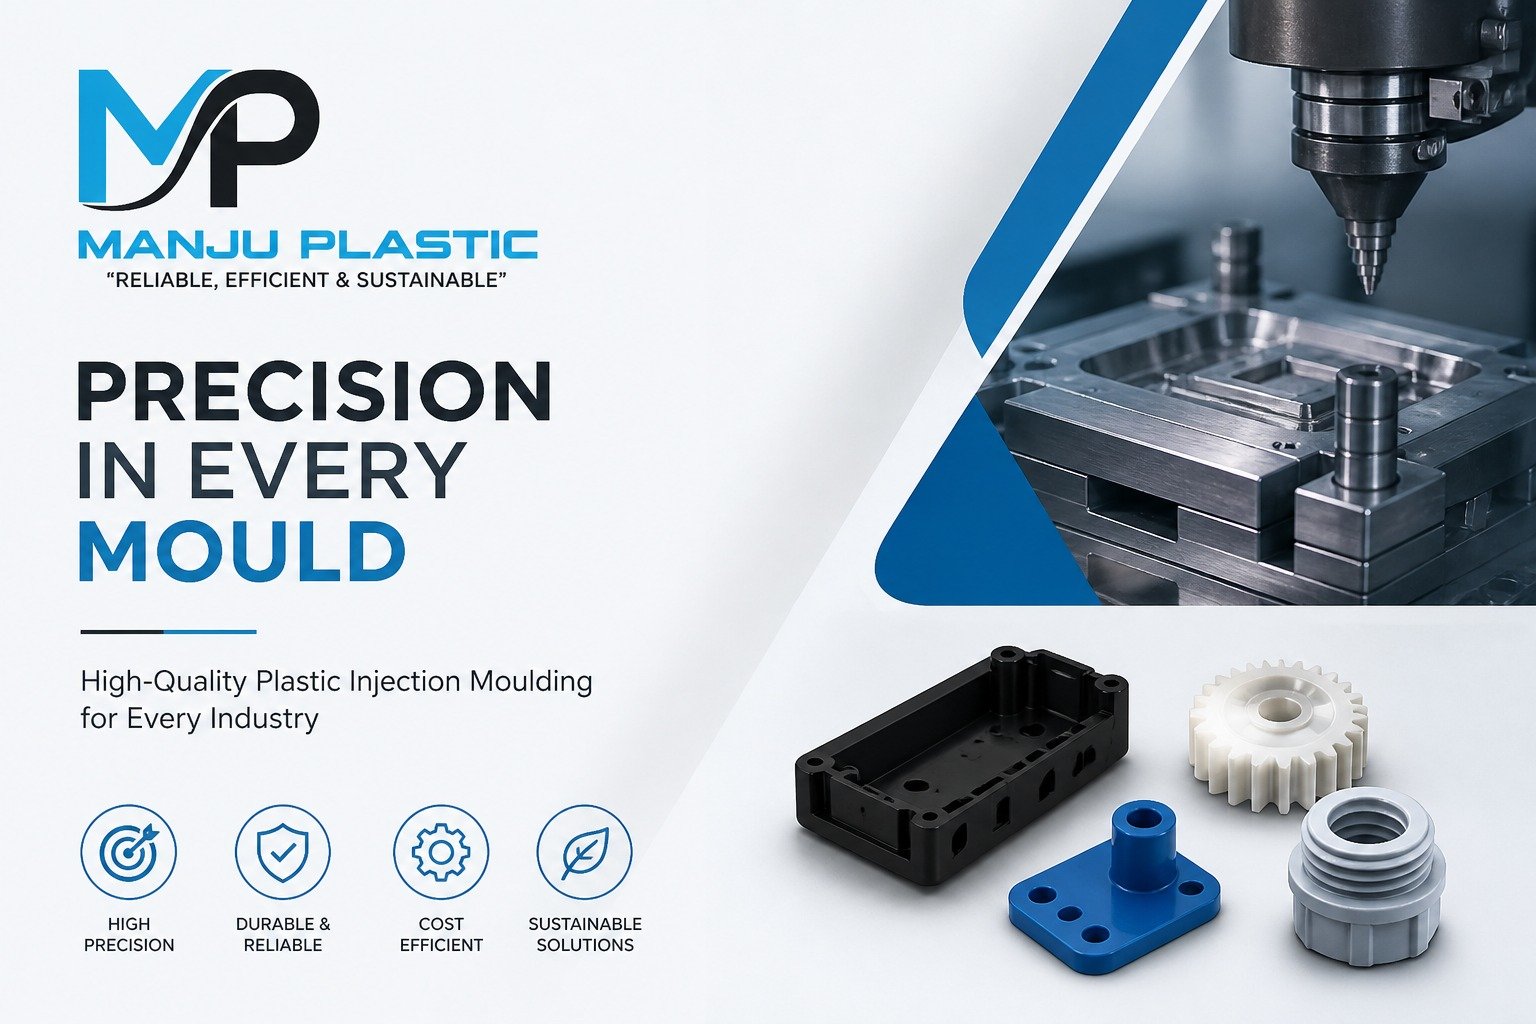
At Manju Plastic, we specialise in custom plastic injection moulding solutions across industries. Whether you need a prototype tool or a high-volume production run, our experienced team ensures precision, consistency, and fast turnaround.
https://www.manjuplastic.com/contact/
Get a Quote →